Splicer-Animator
Splicer-Animator is the splicer control script. Use it to control the precise movement of the sample. The script is running in Blender to convert a frame animation to machine readable GCODE file on splicer.
Click here for current release of the Splicer-Animator
Prerequisite to run splicer-animator
The script has so far only been tested on MacOS. When starting Blender from the application launcher, the splicer-animation-script is not able to write the GCODE to the harddisk. Blender needs to be started from the command line. Follow the link below for more informations on how to start blender from the command line.
Blender Documentation MacOS: Launching from the command line
Splicer-Animator Interface Overview
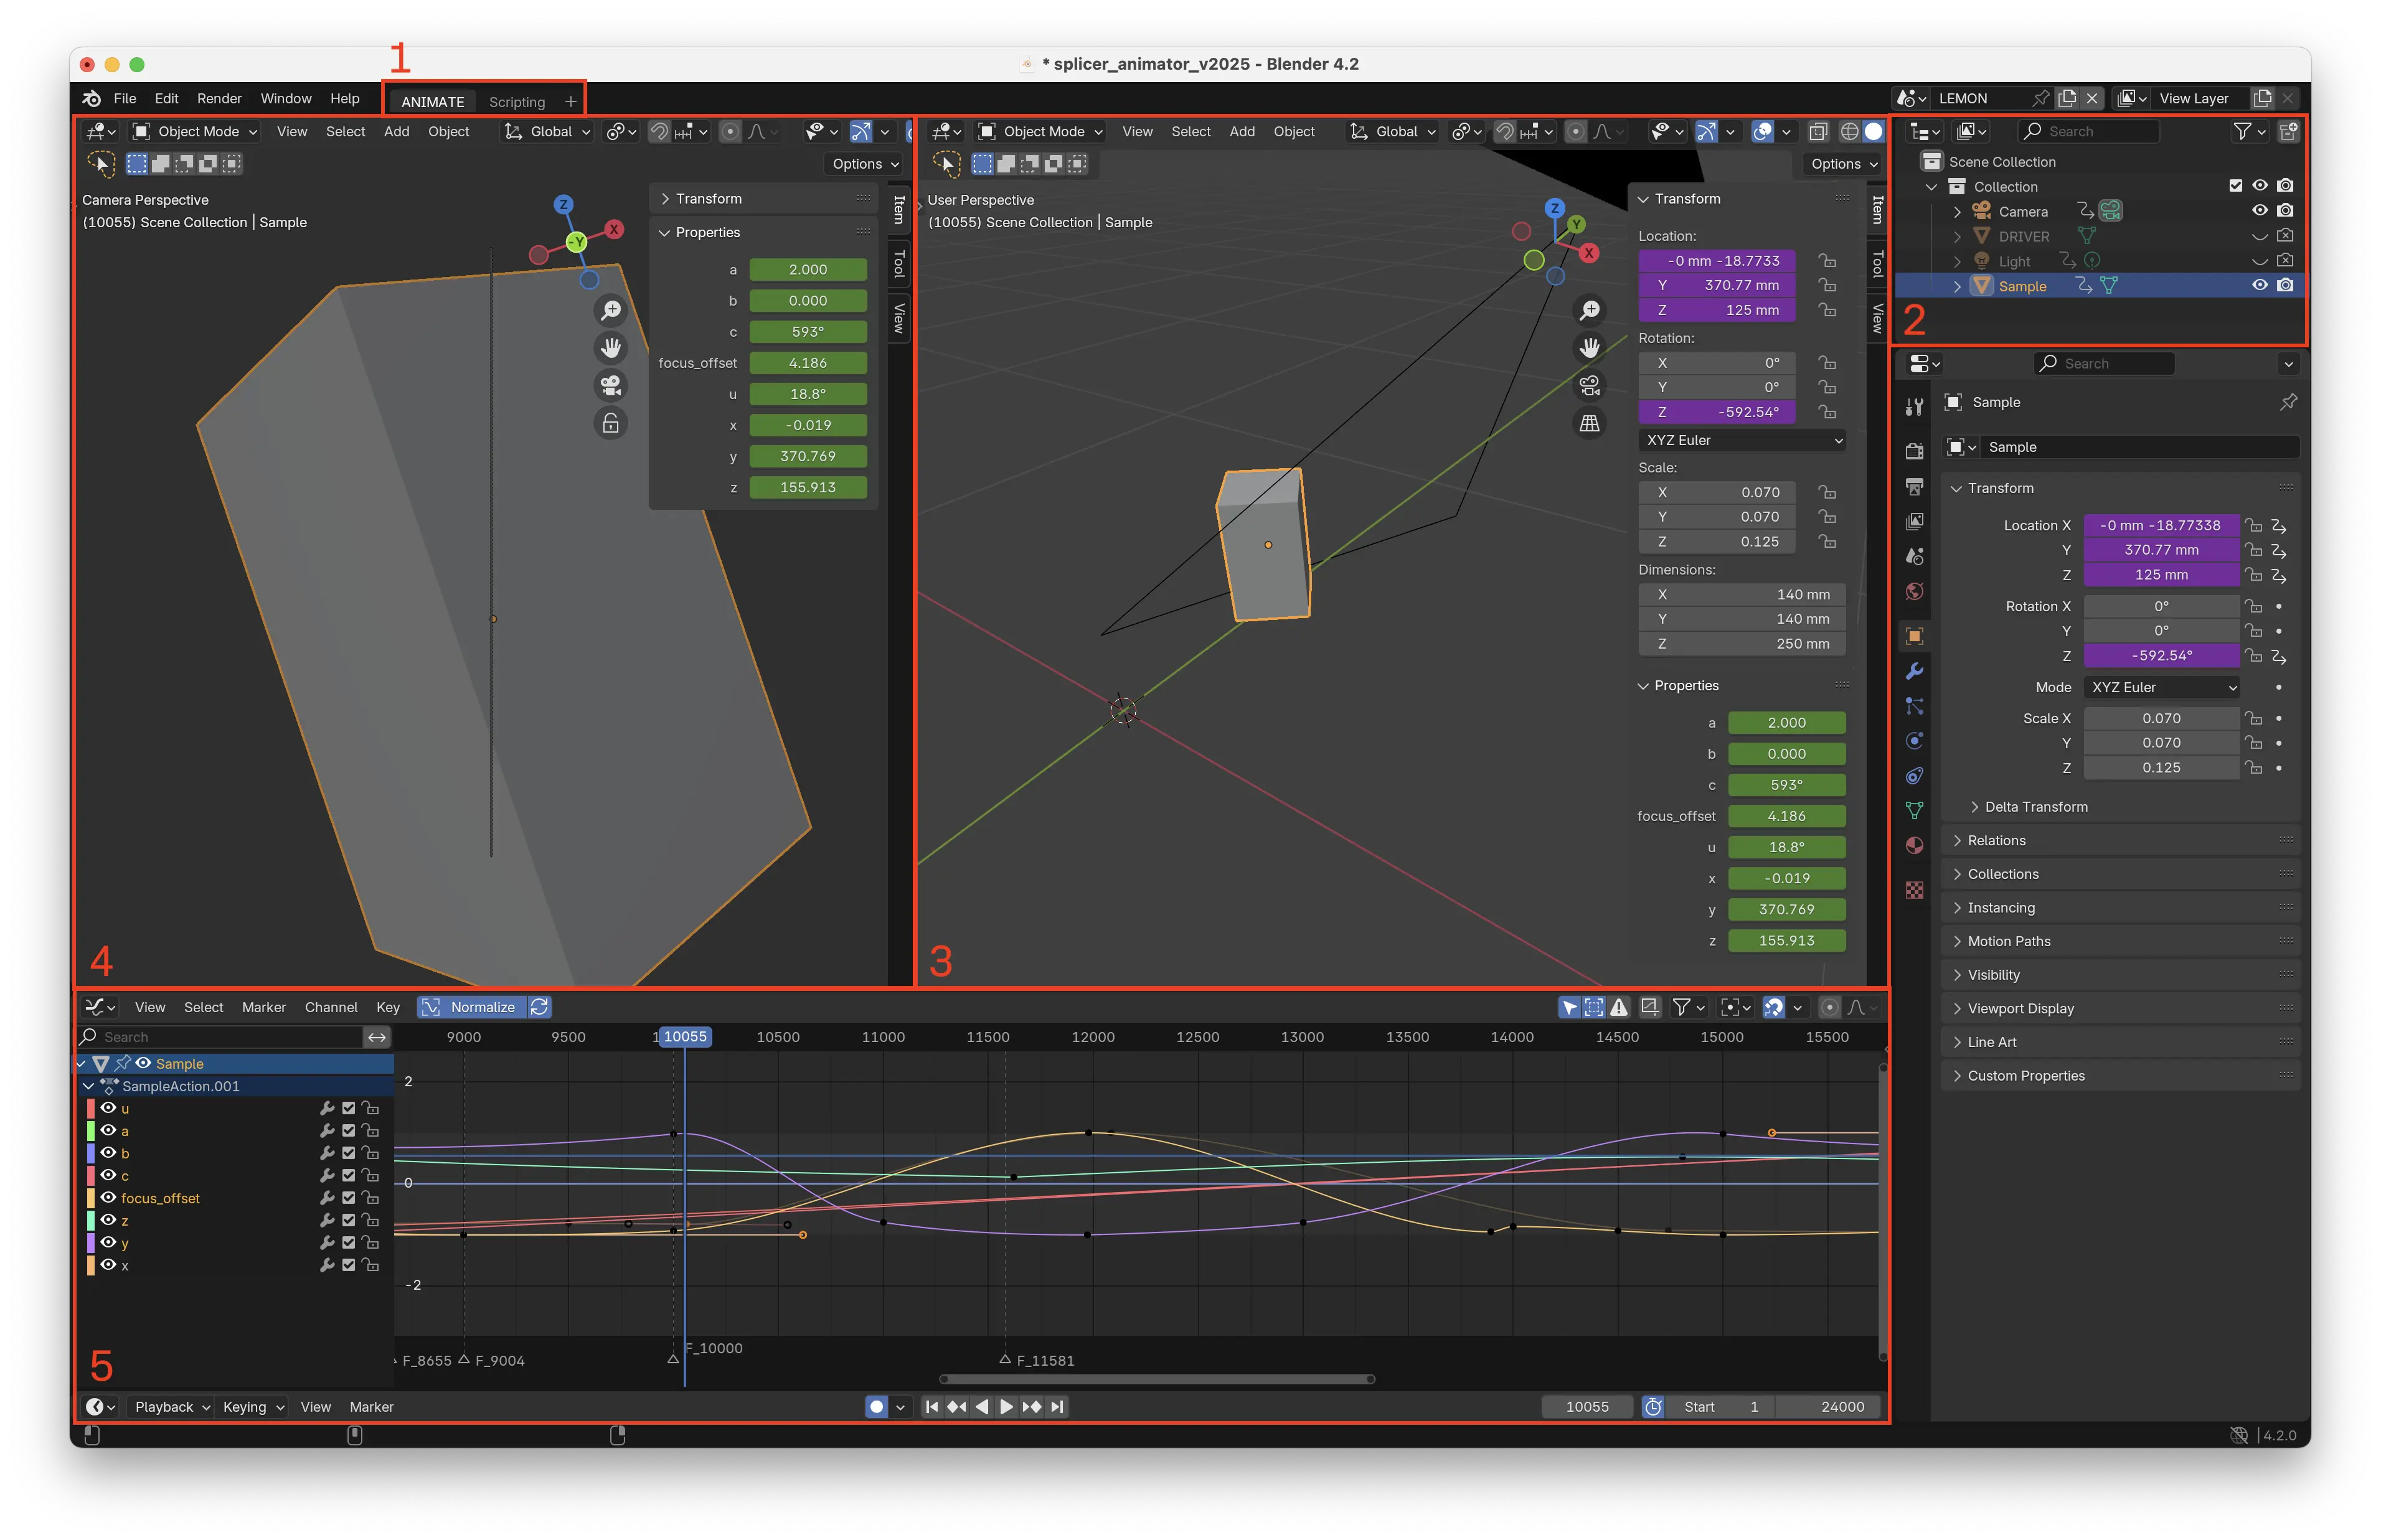
Click on image to enlarge
- Tabs: Switch between Animator and Export Script workspace.
- Blender Outliner: Select between the Camera and the Sample object.
- Overview: The origin of the scene is located at the aperture of the Splicer's lens. The black triangle represents the view cone of the line sensor.
- Camera View: Displays the scene from the camera's perspective. The gray line in the center of the viewport indicates the region captured by the sensor.
- Graph Editor: Used to animate the movement of splicer's axes.
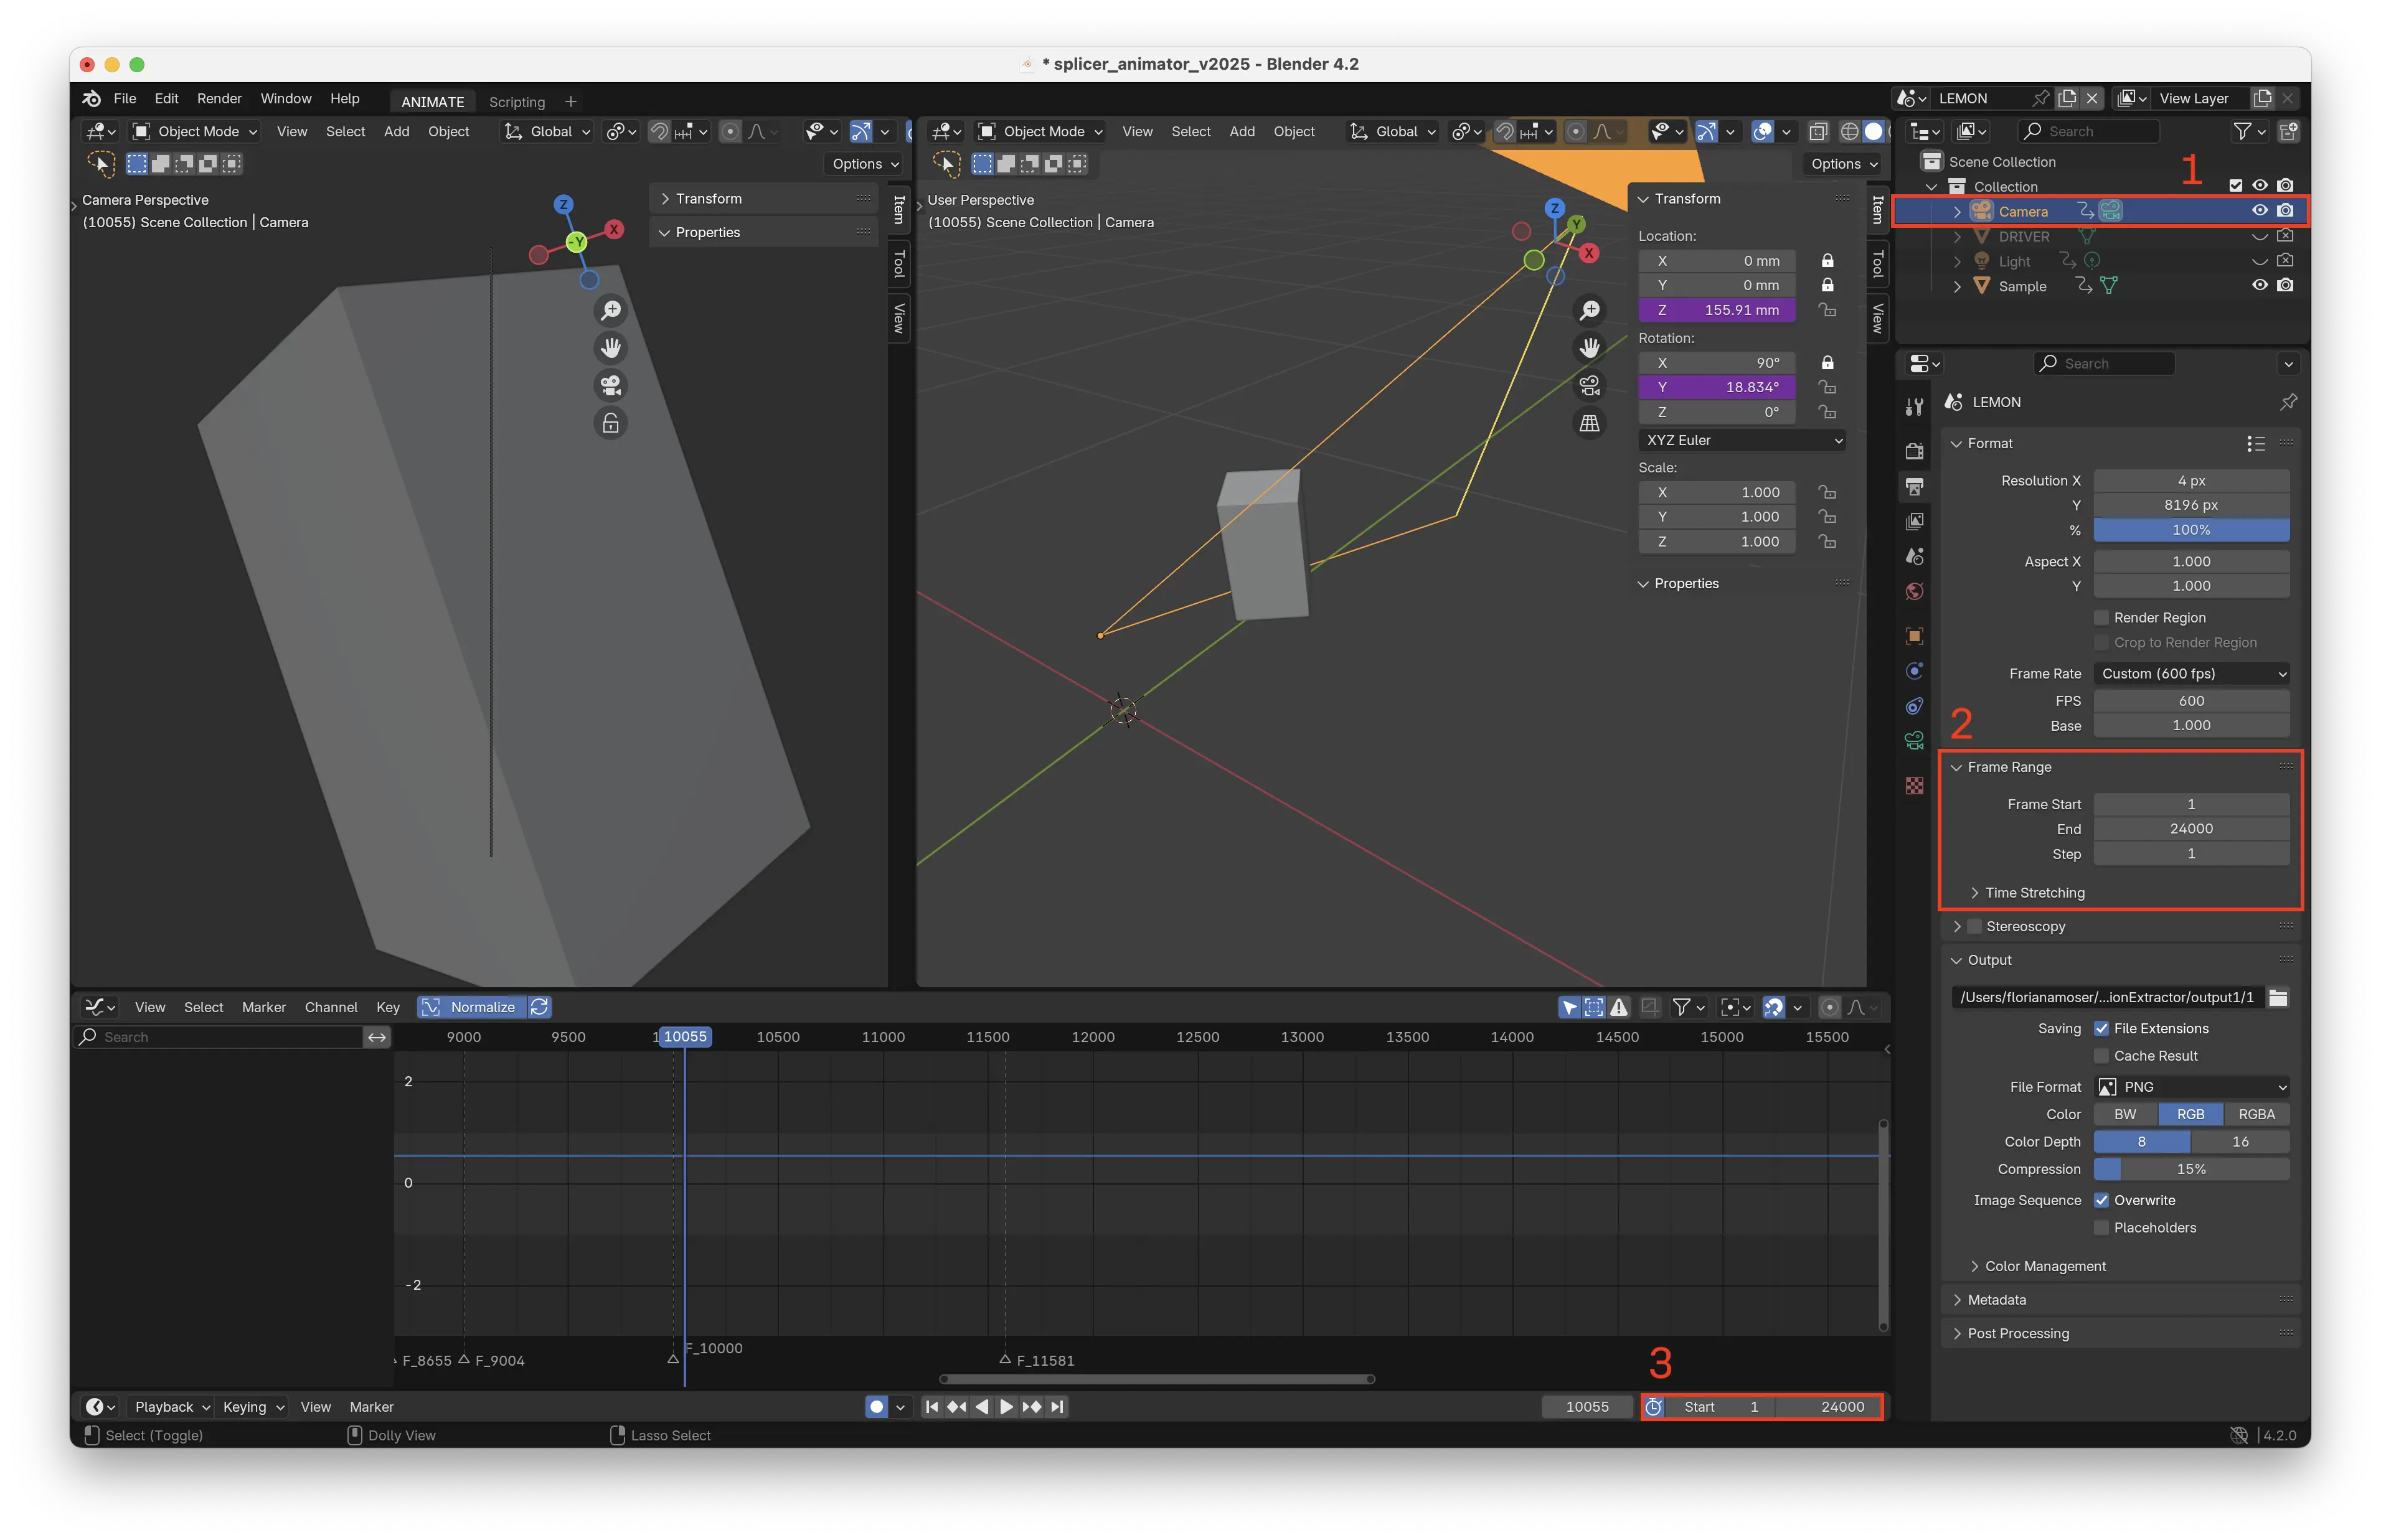
Splicer-Animator Aspect Ratio
Click on image to enlarge
Aspect Ratio of the Image
To start a new image, decide first on the aspect ratio of the image. The sensor has 8192 by 1 pixels. A square image (Aspect Ratio 1:1) requires therefore 8192 lines (equal to 8192 frames in Blender. The terms "lines" and "frames" are used interchangeably.). An horizontal image with the ratio 4:5 therefore requires 8192 / 4 * 5 = 10240 frames in Blender and results in an output image of about 82 Megapixel.
- Select the Camera object in the Blender Outliner.
- Set the Frame Range → End value to the desired image length.
- Adjust the Preview Range to match the updated frame range as needed.
Splicer-Animator Animate Sample

Click on image to enlarge
Read the chapter "Axis Specification" before starting animation
- Select the Sample object in the Blender Outliner.
- Set the Sample object dimensions to match the physical dimensions of the actual sample.
- Move the Cursor to the desired line position.
- Alternatively, jump directly to a specific line position by entering the exact line number. It is recommended to begin by setting keyframes at major intervals (e.g.,
0,1000,2000, etc.) and aligning keyframes between different axis before refining the animation with additional detail. - Adjust the position of each axis as required. A gray background indicates that no keyframes are present for that axis. A green background indicates that keyframes are present, but not at the current cursor position. A yellow background indicates that keyframes are present at the current cursor position for the selected axis.
Splicer-Animator Export GCODE

Click on image to enlarge
- Select the Export Script workspace.
- Set the Name Variable to the desired image title.
- Click the Play button. The GCODE will be exported to the folder specified by the path variable in the script.
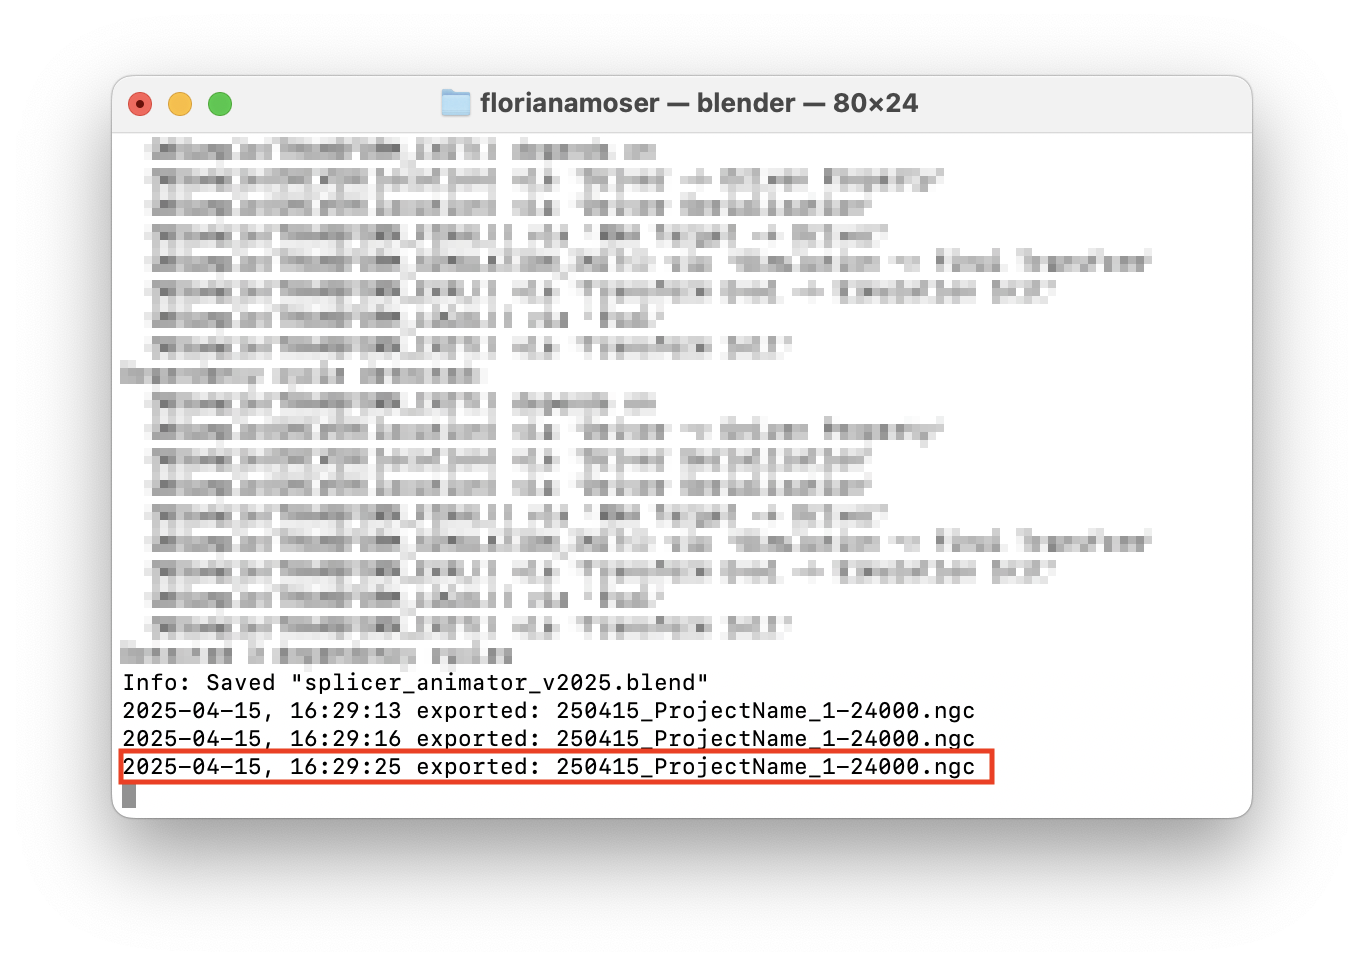
GCODE Naming Scheme
GCODE files are named using the following format: Date_ProjectName_StartFrame-EndFrame. This naming convention helps track the settings required for configuring the Capture Software.
Working Iteratively
After creating an initial rough animation, it is often useful to work on smaller frame ranges to fine-tune specific sections of the image. To do this, adjust the Start Frame, End Frame, and Preview Range settings in the Camera configuration panel. Once the adjustments are complete, switch back to the full frame range for the final capture.
Splicer-Animator Check Export and Debugging
Click on image to enlarge
Export Debugging
If no GCODE file is generated, check the Terminal for messages. Setting debug = True in the export script enables verbose output, providing detailed information about the values being written to the GCODE file.