Mounting a Sample
Sample Fixtures
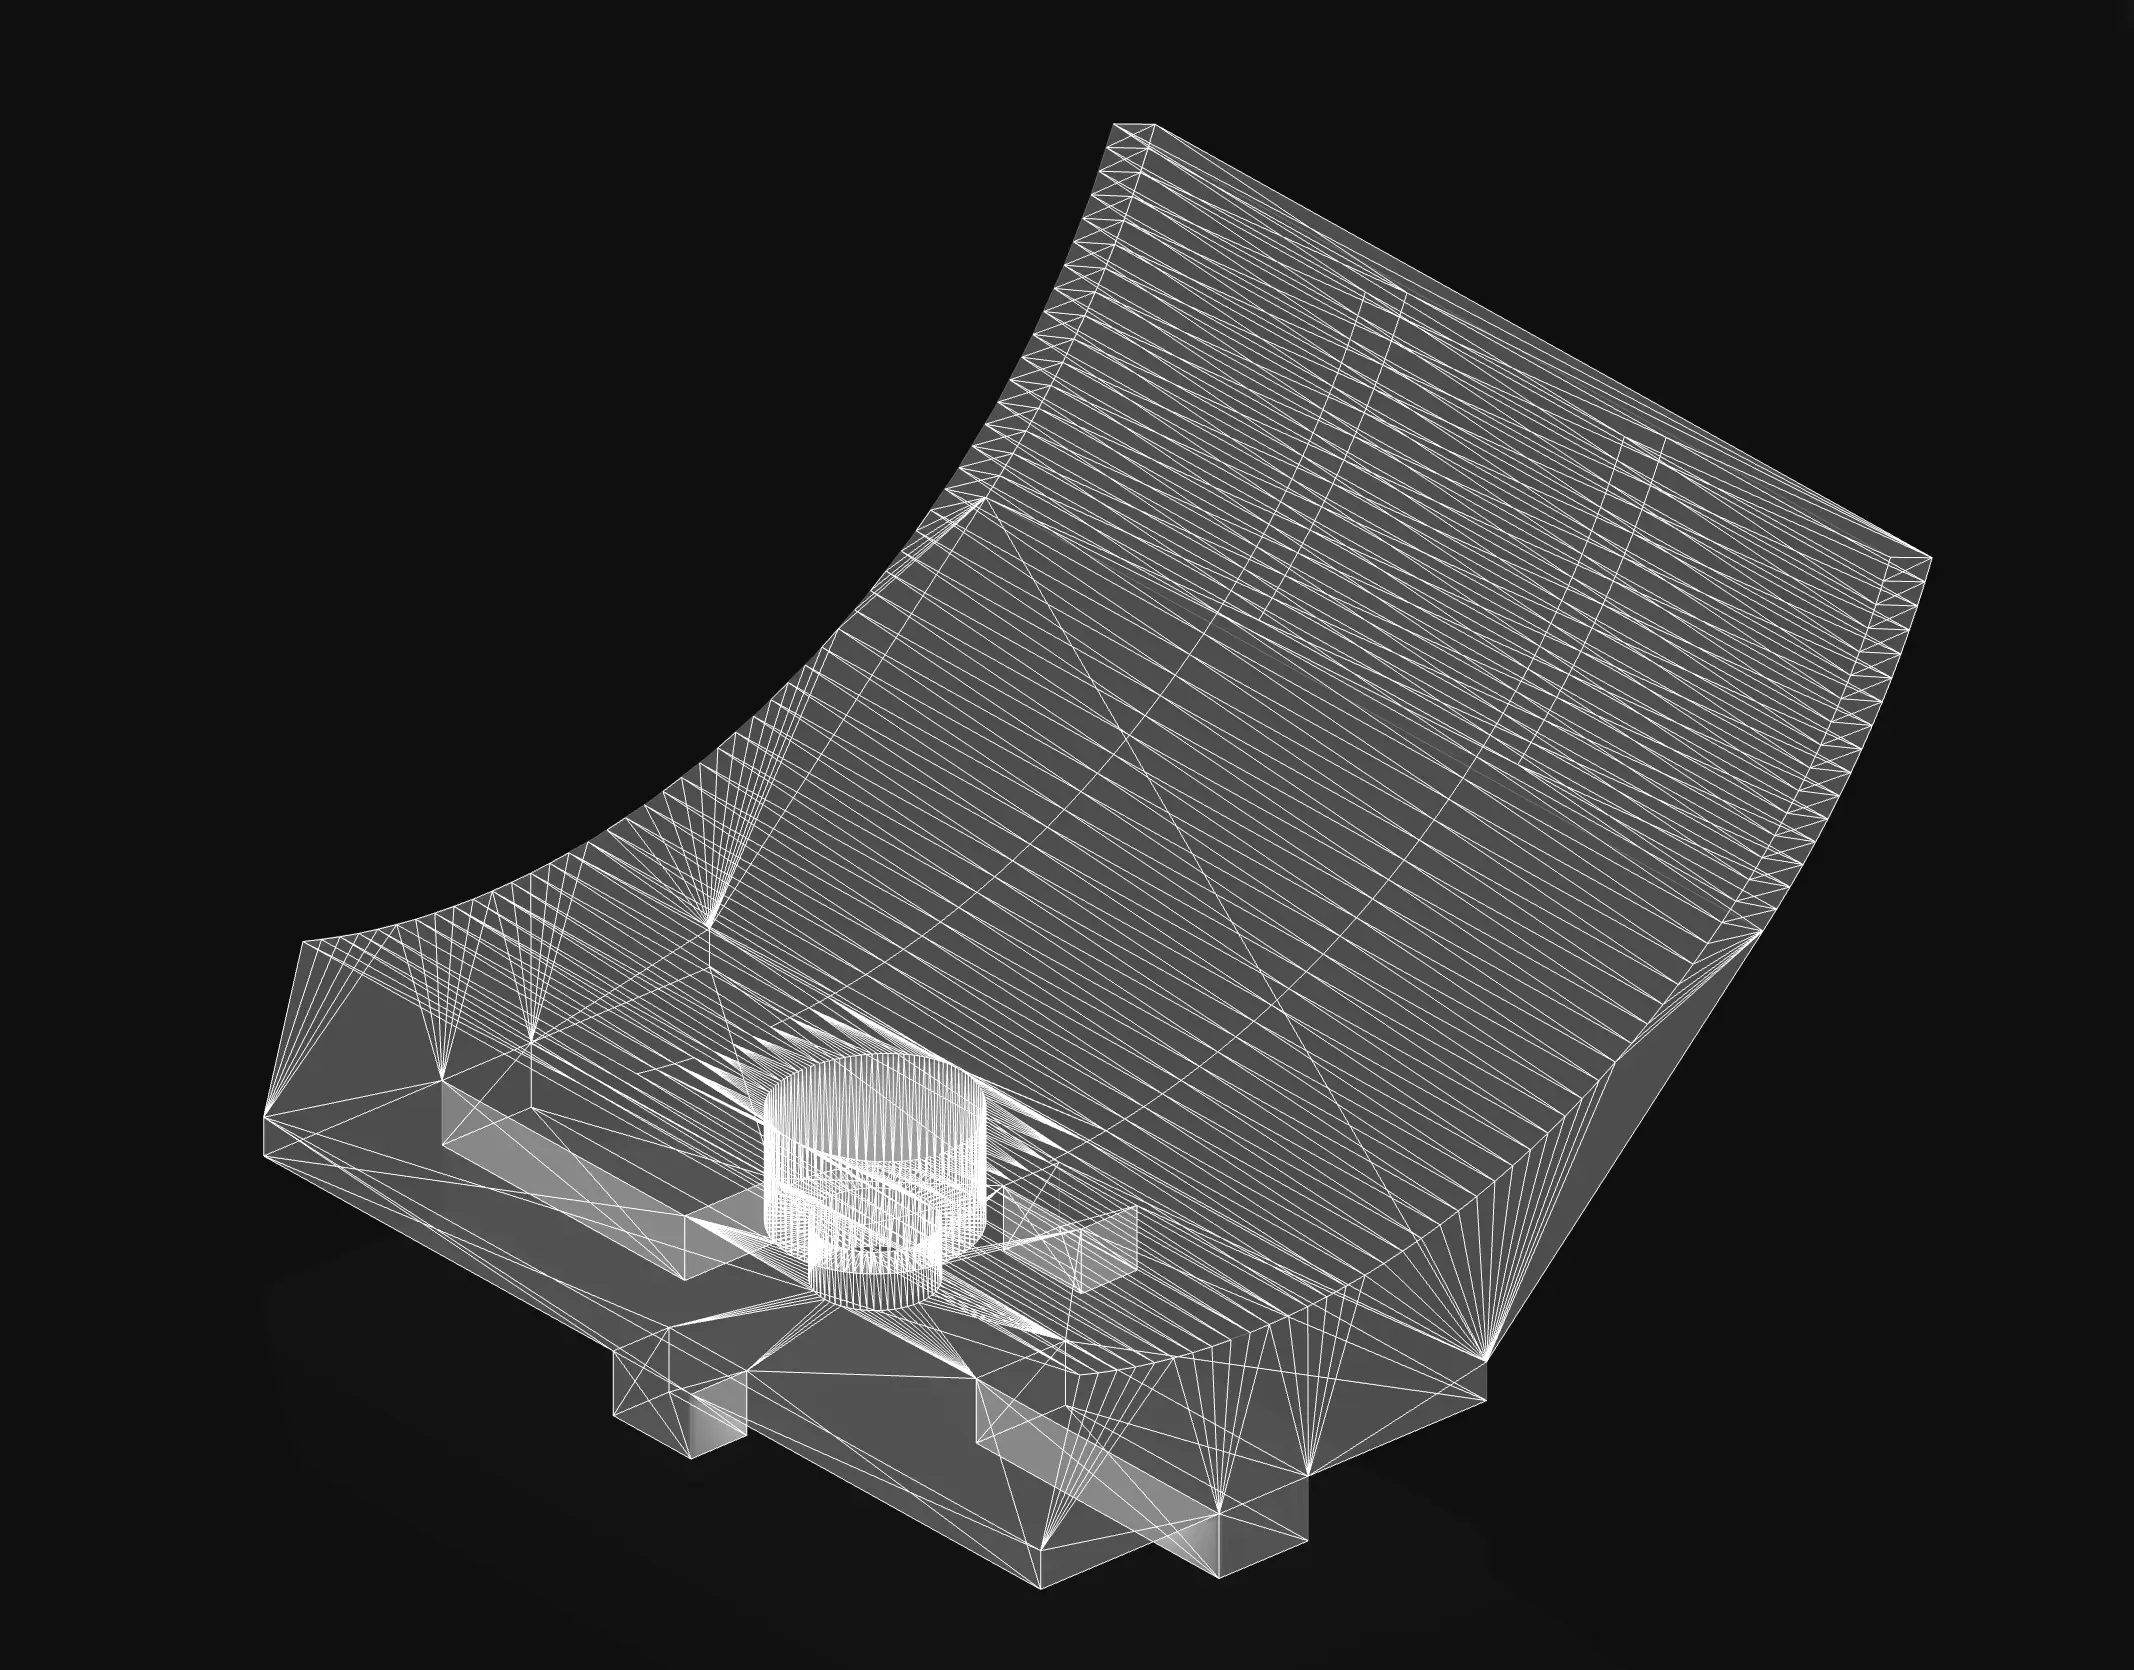
Sample are mounted with custom 3D-printed holders on top of Splicer’s C-axis. The fixtures' purpose is to hold and stabilize the sample during the image-making process and ensure proper alignment within the optical axis of the apparatus.
Base Sample Fixture File
A base file for creating custom fixtures is available here. This file can be opened and edited in Fusion 360 or any compatible CAD software. It serves as a parametric foundation for adapting fixtures to a wide range of sample geometries and requirements.
Physical Interface and Mounting
The sample fixtures mount to the end of a 4040 aluminum extrusion using a single M8 screw. This provides a reliable mechanical connection and allows for fast exchange of different fixture setups.
Design Considerations
When designing custom sample fixtures, keep in mind two key aspects:
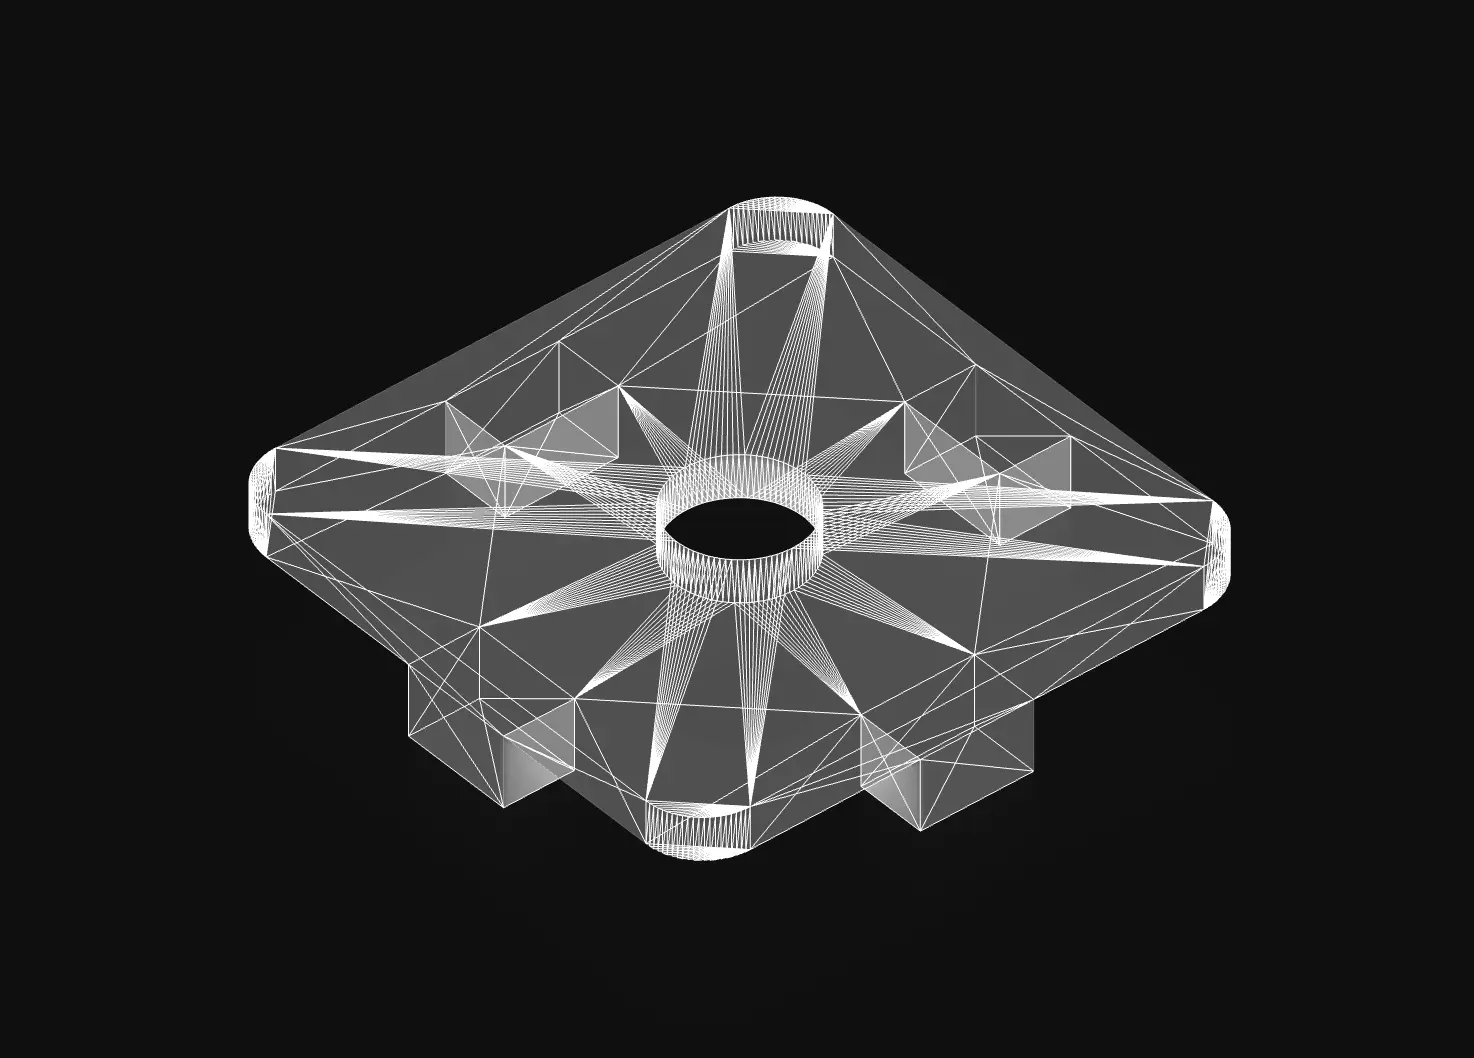
Visibility in the Image
The fixture should ideally remain invisible in the final image. Avoid protrusions or reflective surfaces within the scanning field of view. Use matte materials and minimize geometric bulk. For translucent or backlit samples, ensure the fixture does not interfere with lighting conditions or introduce reflections or shadow artifacts.
Mechanical Stability
Splicer captures images through multi-axis motion, often with rapid, interpolated movements. Fixtures must be rigid and vibration-resistant to maintain alignment and ensure consistent image quality. Avoid cantilevered parts or thin geometries that might resonate under motion. Test prototypes for mechanical robustness before final sampling.
Reference Fixtures
A growing collection of existing sample fixtures can be found on the GitHub repository. These serve as references or starting points for new designs.